


November, 2013...
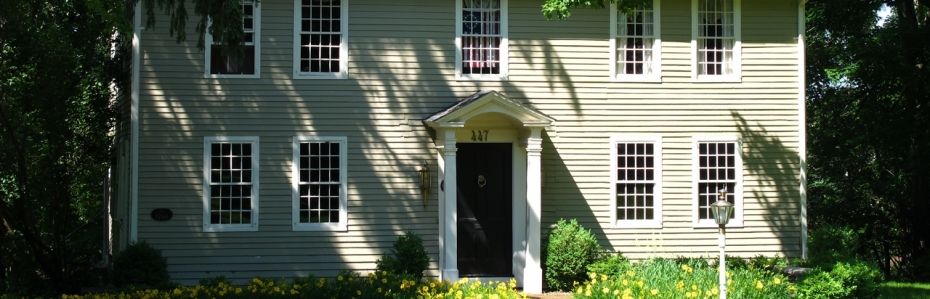
The hole in the wall had become larger due to my eagerness (see Part I). I had contracted with Sunderland Period Homes to repair the south facing parlor window. As promised in Part I, the following are the procedures that were taken to repair the window frame:
 |
| Sunderland Period Homes |
The crew of two started with the removal of the siding. Each board was removed, numbered and stacked in the front yard. The boards were scraped for a clean edge while the paper around the window was torn off. A product they had called "ice and water" (branded as Protecto Wrap) was used as a first layer of defense around the window. The product is a tacky tar-like membrane that helps secure the joint between the clapboards and window frame from water. It came in a roll and was placed first along the bottom of the window, then the sides which overlapped the bottom and finally across the top of the window, overlapping the sides.
 |
| Siding removed, "ice & water" partially installed, storm window being removed. |
Rotted wood on the frame was marked for removal. The marking delineated an area that was easy to cut and replicate. A scraper was used to remove paint to expose the wood's surface. A straight edge was then used to complete the mark out.
 |
| Scraping the paint off the damaged area. |
 |
| Using a straight edge for mark out. |
Once the area to be removed is marked, it is then removed using a router.
 |
| The depth of the router is adjusted prior to the removal. |
 |
| Starting from the outside edge, the carpenter carefully routers the wood to the indicated shape. |
A stock piece of wood slightly thicker than the area being patched is used. It is laid against the frame and the cutout is traced onto the stock wood. A jigsaw was used to cut it out.
 |
| Scrap of wood being cut using a jigsaw. Note the clapboards on the sawhorses. |
 |
| Perfect match. |
With the patch ready, time to install. The carpenter recommended that a 3x construction adhesive be used instead of stronger adhesives (such as the 8x) as the stronger varieties tend to be too gritty for this application.
 |
| Construction adhesive, 3x strength. |
 |
| The application of the adhesive into the cut out. |
The previously sized stock piece of wood is squeezed into the fresh adhesive. The carpenter pre-drills screw holes and secures the patch with stainless screws. Once the adhesive sets, the patch is planned flush with the original frame.
 |
| Pre-drilling for the screws. |
This process was repeated several times around the perimeter of the window's frame. Once complete, the crew moved on to the siding.
 |
| Patchwork complete. Note the Great Stuff insulating foam in between the planked wall boards. |
It was suggested by the carpenter that while the siding is off, we should fill the gaps between the planks with foam. What an excellent idea. Now, I realize this is not going to be anywhere near as efficient as R15 insulation batting; however, compared to having no insulation versus this sprayed into the one inch cavities to help button up our home, I was all too eager to go out and purchase a whole bunch for the crew. I was told to purchase the blue bottle for windows and doors. This is because, per the carpenter, it was formulated to fill the spaces around windows and doors without making them un-plum. The regular red can applies more pressure to the surfaces it comes into contact with which can cause alignment issues.
 |
| Great Stuff, Window and Door. |
Felt paper is now installed as a secondary wind and rain barrier. It's installed with small siding nails.
 |
| Felt installed overlapping each other. |
 |
| Siding nail. |
Flashing installation is done in the same manner as the "water and ice" except the flashing needs to be scewed into the side of the house.
 |
| Flashing is installed over the "ice and water" membrane and under the frame's lip. It is secured through the window frame. |
 |
| The flashing is installed similar to the "water and ice" membrane starting at the bottom, overlapping the sides onto the bottom and then the top overlapping the sides. |
A clear caulk was then used to seal the perimeter of the window.
 |
| Clear caulk. |
Once caulked, the clapboards were re-installed with new pieces being added where needed.

For the next couple of days, this is how the side of my home looked. The work finished within a week with the installation of lead flashing above the window (sorry, I ran out of vacation time, no photos of that installation). The remaining clapboards were replaced and the work was done on the outside. However, in the estimate, Sunderland Period Homes specified rosehead nails for the siding, the carpenter used regular siding nails. It was a deviation that was very disappointing. Upon pointing this oversight to Edward, he ordered the correct nails and had his carpenter install them. His reasoning for not using it was because even though he wrote it down in the estimate, the existing nails in the siding were regular nails so he didn't think that he needed to install the more expensive rosehead nails.
On to the inside...
 |
| Interior face of the south exterior parlor wall before any repair work. |
Sunderland himself worked on the plaster patching. He took a sample of one of the window's trim and had it replicated exactly. He also did the same with the sill. Both of the components were damaged by yours truly in my feeble attempt to "fix" the window.
 |
| Plaster placement in progress. |
 |
| Plaster material used. |
 |
| Done. Plaster and trim completed. |
Once Edward and his crew were done, now, it was my turn to fix the cracks in the walls.
 |
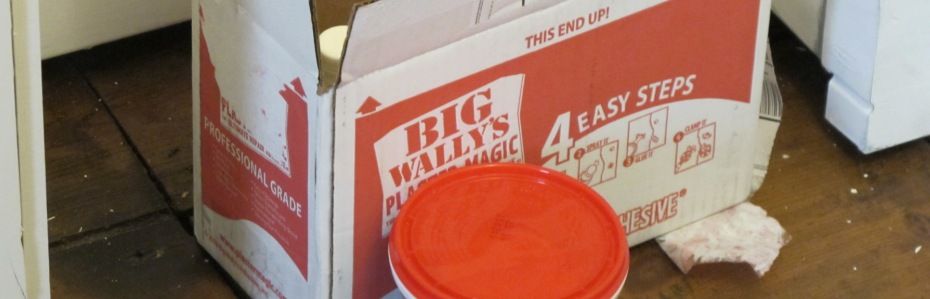
| Big Wally's Plaster Magic, Contractor's Pack. |
So the total cost for Sunderland Period Homes was: $3,450.00 (does not include the Plaster Magic). Pricing included an extra $250 due to there being more plaster repair than Edward had initially thought. I don't yet know how much a 50 pound bag of Structo-Lite costs, but I doubt its anywhere near that price.
This truly was very expensive. I have to admit that towards the end of this project, I lost my temper with Edward. He tended to want to do 'this' and 'that', seemingly pull numbers out of the air and make me feel quite idiotic on a continual basis. He didn't realize that we are not one of his wealthy clients that are restoring their vacation house. This is our home, we live here and we only have so much money to spend. I snapped at him one evening and told him that I just cannot afford him. With his posh attitude, he didn't seem to care and we haven't spoken since.
Now with that being said, he was able to stop the window leak, perfectly duplicate the trim and do a decent job of plaster repair. He also did not mind that I was asking questions of his crew most of the time and also did not mind the photographs. Would I hire him again... eh, simply because of the expense, I think I'll shop around next time. At least I was able to get a decent idea of how to seal a window. I thank Chris, the lead carpenter, for being so educational.
Future plans are to prime the exterior surfaces left exposed and continue working on the interior of the parlor myself with paint removal and crack repair.


