


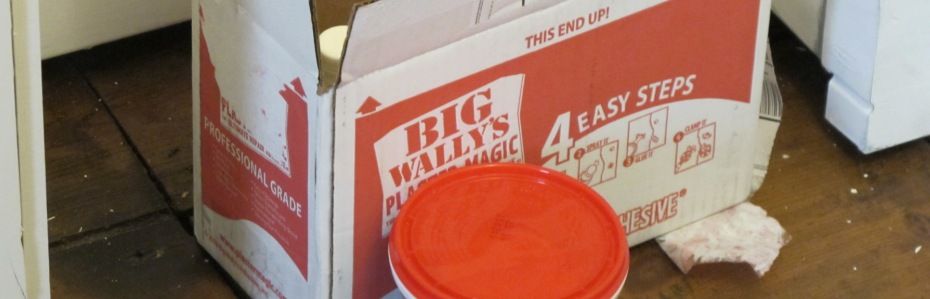


Watching the PBS program "This Old House", I saw contractor Tom Silva use Big Wally's branded plaster repair kit on a rather large crack. The process looked simple enough and having plaster everywhere in the home with every wall having some sort of crack, I decided to buy a small pack to try out.

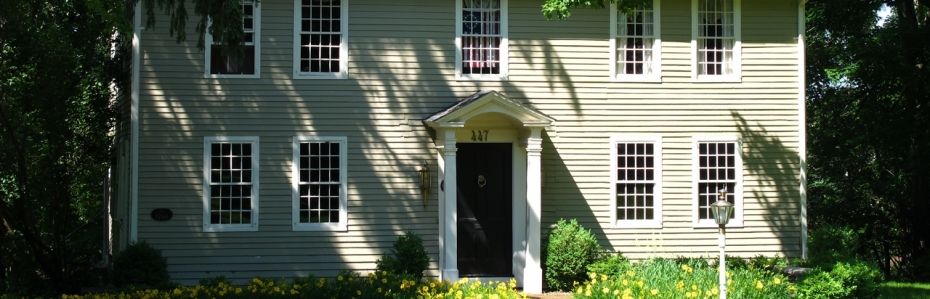
In our future baby room, where a closet was built (circa 1960's), are a series of exposed cracks on the west exterior wall. This area will eventually be covered by a closet system, so I figured I can't make it look any worse. You can see the previous owners attempts of sloppy repair along the corner.


Following the directions, I drilled my first hole near the crack to locate the lathe behind. With a set spacing between each lathe, I drilled along the crack keeping far enough away not make it bigger, yet close enough for the process to work. I believe the directions said about an inch to two away. I vacuumed each hole to clean it of all dust and you'll also want to vacuum the floor and other nearby items, plaster dust gets everywhere.

Once this was complete, the holes are primed with a chemical within a squeeze bottle, left to sit for 15 minutes, then the glue is pumped into each hole using a caulk gun. The directions stated that one full pull of the caulk gun's trigger is needed per each hole or until the glue pops out of the hole. That may be overkill. On a series of drilled holes, I found myself squeezing two to three pulls of the trigger with no glue being forced back out of the hole. I must have hit a pocket or found a void between the lathe. Either way, the purchased kit was stated at repairing 9 linear feet of crack. I believe you could get more out of the kit once you get used to it. The kit isn't cheap, so making it effectively last is an excellent goal.
After filling all the holes, a special washer was screwed into selected holes which, when screwed in, pulls the lathe and plaster back together again while the glue cured.

The directions said that I should give time to allow the glue to dry; I waited a week, just to be sure. Then I removed all the washers with a putty knife. Did a little sanding and applied joint compound on the surface to fill the drilled holes and cracks. I let it dry, sanded and repeated until the wall was smooth. After I painted the surface, the final product looked amazing! See the special note at the bottom of this post.

The kit came with glue, special washers, primer, gloves and directions. Extras needed were a drill, masonry bits, vacuum, scraper (to pry off the washers), joint compound and a plaster knife/trowel. But these are tools that every handyman (or woman) should have laying around.
The entire process is messy mainly because of the joint compound, plaster dust, glue and my inexperience. Gloves are included in the kit, and thinking that I was a tough guy, I didn't bother with them. Use them, the glue does sting if you have any cuts on your hands. Protect your floors too and don't be a tough guy.
Total cost was $79.00 for the small nine foot kit with shipping being an extra $17.50! (in 2012). As pricing becomes more affordable per foot once you buy in bulk, I may consider going after the larger Contractor kit. However, it is still on the expensive side for my budget. I will admit, that without trying any other kit, Big Wally's does what is should and was relatively simple to complete.
For more information, see Big Wally's site: http://www.plastermagic.com/
Here is the video from "This Old House" that inspired this repair:
How to Repair Plaster Walls with Tom Silva
Note: No, I have not been paid in any way to review this product. Though I have to say that I had to pay them to try it.
Special note regarding painting:
1. DO NOT assume the paint the previous owner labeled innocently enough as "White Interior Paint" on an attached post-it note is not (in actuality) yellow tinted white exterior trim paint.
2. DO NOT forget to open the only window in the room for ventilation.
... and this one is really important...
3. DO NOT assume 1. to be true, conduct 2. and forget that the storm window is closed.


