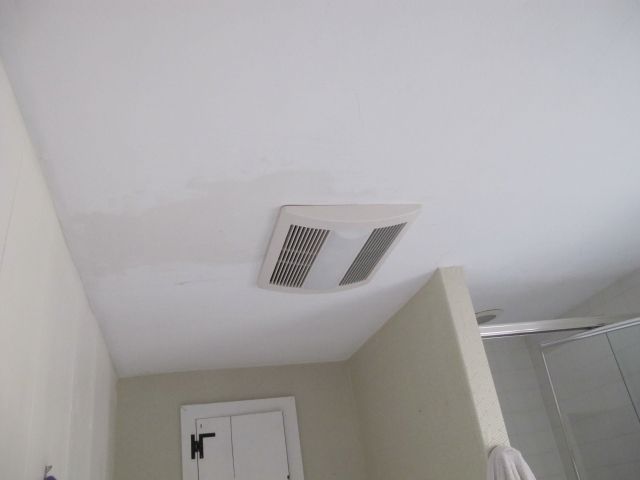


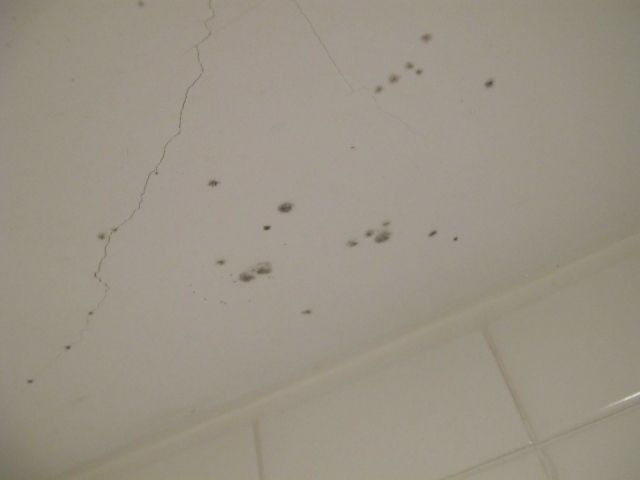
 Mix a bunch of humidity in a confined space with no where for that moist air to go and you get mold... lots of it. In a previous post, I mentioned that my lovely wife just loves her hot showers. With no ventilation, mold builds quickly, especially when I have the window covered with a plastic seal to stop any drafts.
 Several months ago, I researched out the best vent fan for the bathroom. Overwhelmingly, I found that Panasonic was the brand to go after. Beyond venting the bathroom, I also wanted to improve the lighting and add heat. The undersized baseboard is just not large enough to heat our bathroom. So the top-of-the-line Panasonic FV-11VHL2 was the fan to go after. With a retail price at $502, it is not cheap but I'll rarely settle for retail pricing. Searching online found the best price, namely, Amazon.com (pricing may vary). For $251.00 with free shipping (of course) this rather large bathroom vent fan was in my home.
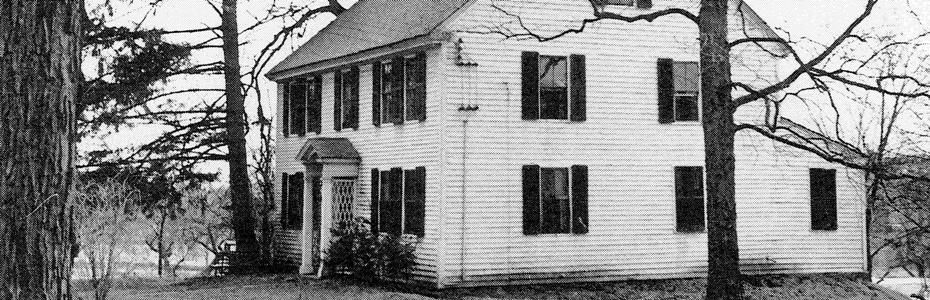
Installing it was a bit difficult only because of my inexperience and it's an old house. There are two options for installation, both of which required cutting a hole in either my siding or my roof. With no ladder (yet), I needed to enlist the help of a co-worker who moonlights as a handyman (for a fee). As I have a mild fear of heights, I thought it best to have him aide me with the roof installation. The roof install was our chosen method since I wanted to minimize any changes to the home's exterior looks, as a roof install would not be seen from the street. Not only did he aide me with the roof install, he also took over the entire instillation.
Side Note:
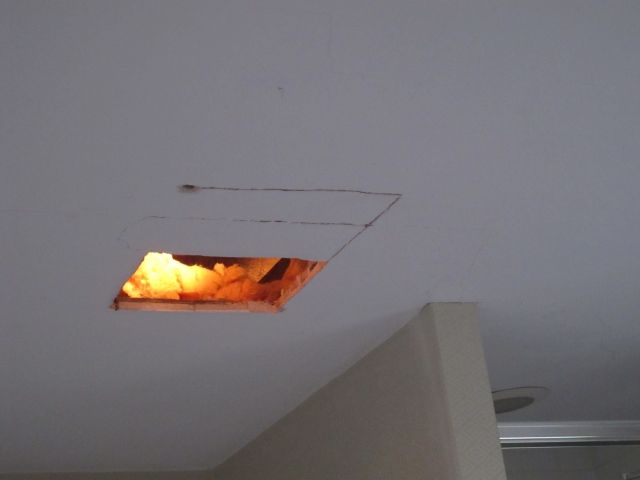
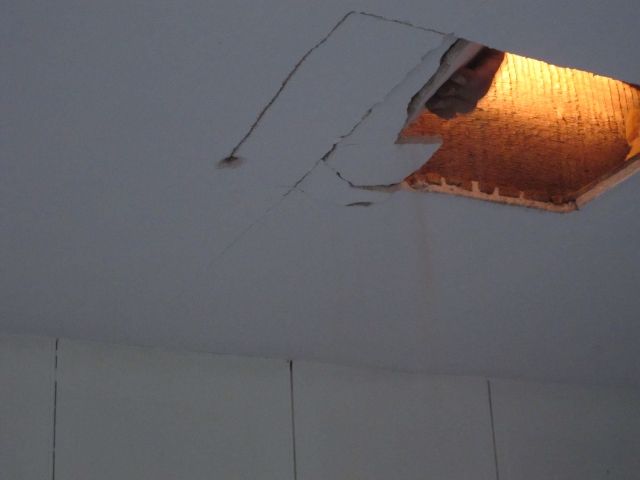
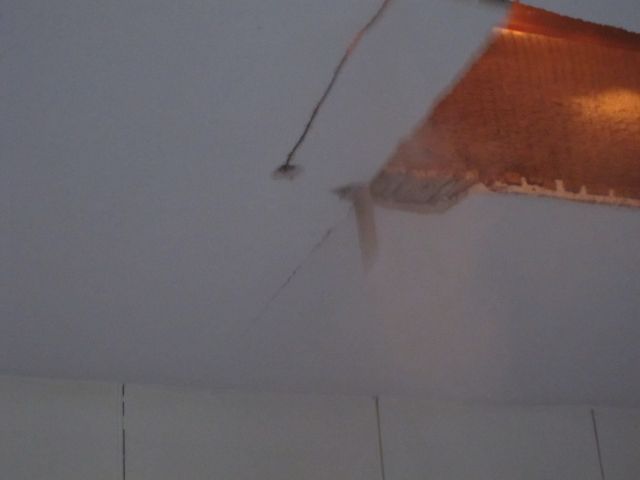
It's not always a good idea to get "hired help" from a co-worker/friend. I wanted to replace an existing smaller lamp in the bathroom with this much larger unit. In order to do this, we needed to make the ceiling opening larger. My co-worker friend decided to get the job done with a power tool. Not thinking, I fetched it for him. He used his "sawzall" from the attic side down to cut apart my 250 year old plaster ceiling. For those of you not familiar, a "Sawzall" is a reciprocating saw that shakes the crap out of what ever is near it. I have to admit, I was pretty upset by the sight of a one square foot piece of plaster crumble and fall to the bathroom floor. Being a co-worker and a friend, I didn't have the heart to verbally beat him up for it. He did take the blame for it and, over the course of a few months (yikes!), patched it. The work started November 20, 2011, and ended this past Friday night, February 17, 2012. Of course, most of the work was completed on November 20th. The remainder of the time was spent juggling schedules, cancellations, etc. while waiting for my co-worker friend to come back and apply the plaster patch in three layers.
The following are photos during the installation of November 20, 2011.
The following are photos during the installation of November 20, 2011.
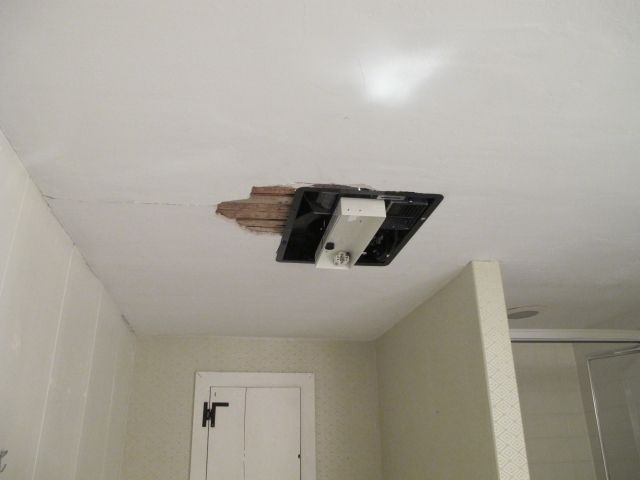
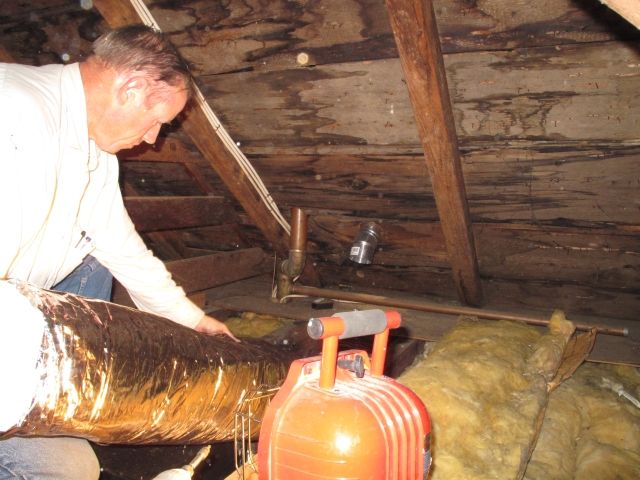
Now that the vent fan is in place, its time to route power and the exhaust duct to the roof.
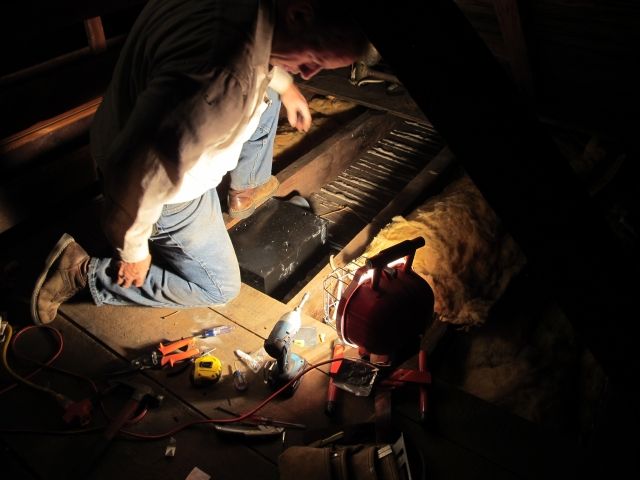
A little insulation around the exhaust helps to avoid condensation during use.
While walking through the attic, we noticed that there was a junction box labeled "extra". Inside were four free lines. We had hoped to connect the heater to one of those lines since it required a dedicated line straight from the electrical panel. My friend connected a breaker-finder tool to the wire and went to the electrical box to find which breaker the line went to. No breaker was found. The conclusion at that time was that the wire may have terminated in another junction box.
With perhaps the 10th hour that we've been working approaching, my friend needed to get on with life. We called it quits after making a temporary connection to the existing lighting. When the light switch was turned on, so did the fan and the lights. No heat since I wouldn't want to set off the breaker making everything useless.
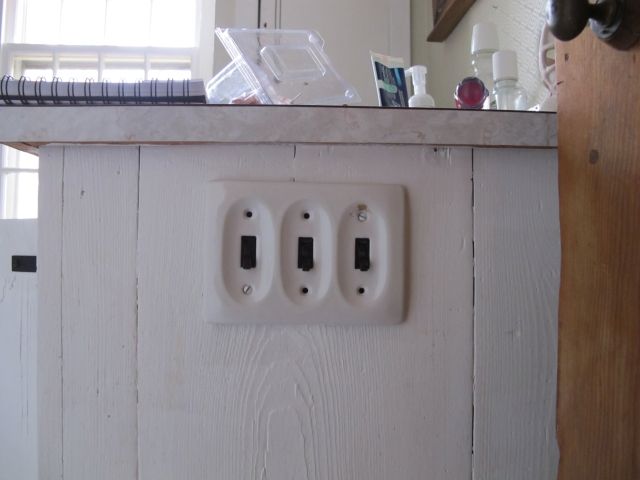
Over the next couple of weekends I dedicated my time to tracing the wires in the bathroom. I turned off the breaker to the bathroom and took off the decorative switch plate revealing the wiring inside.
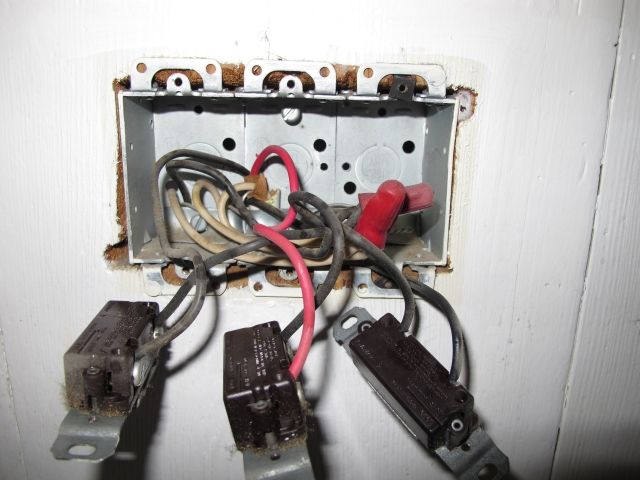
What a mess... I tried to organize the wiring into the individual conductors. On the left is one line (one hot, one ground and one neutral). In the center, pointing downwards is another line (one hot, one ground and one negative). Pointing to the right is the third line (two hot, one ground, one neutral).

I then connected a tracer to each line and used the included probe to literally trace the connected wire back to the panel (or wherever it may lead). The tracer was purchased from Amazon.com for a little under $80.

As it turns out, the left line went to a GFCI outlet, the middle one was from the panel and the right line went to the lighting. The switches were wired in the most annoying fashion. The left two switches controlled the GFCI outlet, why two I do not know. It was more of an annoyance when my wife would plug in her hair dryer and it wouldn't work. We would have to play with the two switches to get the outlet to work.

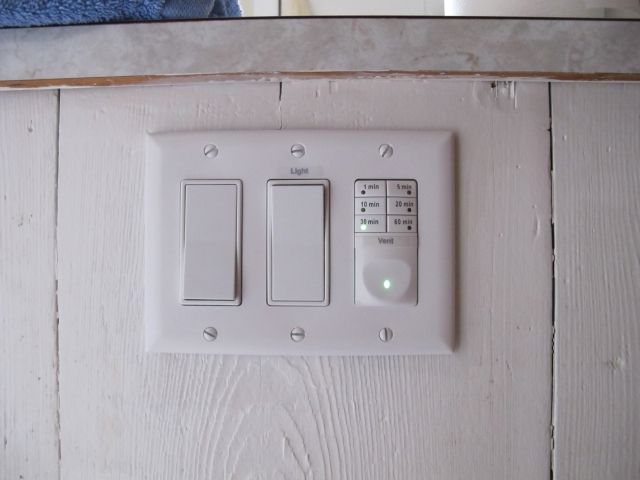
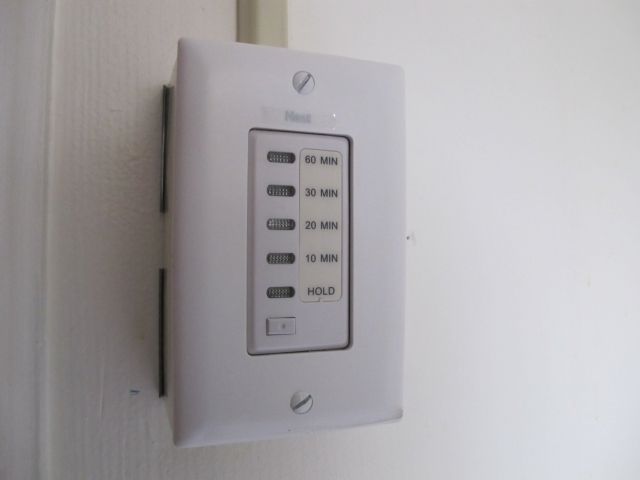
I straightened the wiring out removing what was originally installed. I purchased two new 15 amp switches and one timer switch. Identifying the source line, I hard wired the GFCI plug to be always on as opposed to on/off with a switch. From that same line, I also feed the lighting and the new fan through a switch and timer, respectively. In the photo below, the switch on the left is a dummy switch since the big name home improvement store did not have any blank plugs for the three switch plate.
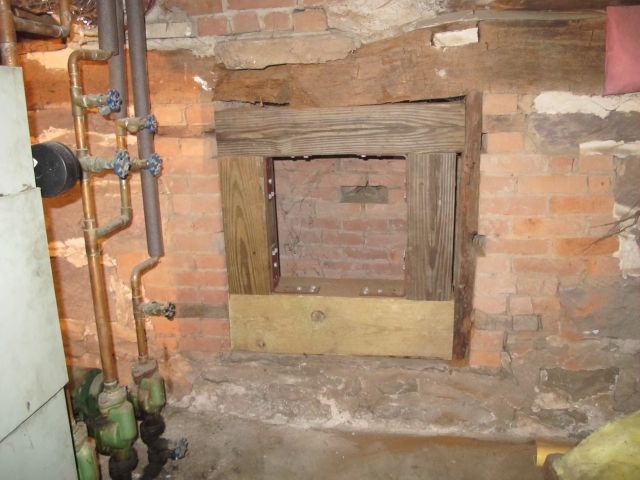
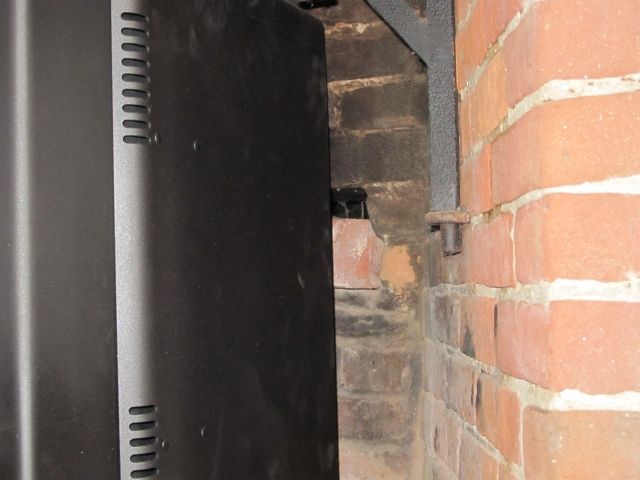
Now, the heater. This was perhaps the hardest part. The heating element required a dedicated 20 amp breaker. Using the tracer, I was able to locate where the extra line in the attic terminated. It ended up in the panel in the basement, just not connected to a breaker which would explain why my friend's breaker tracer couldn't find it (no breaker, no trace). I purchased a 20 amp breaker for my GE panel (the name brand matters) and installed it in one of the empty slots. At the same time I purchased wire mold chases and a switch box. I also got a timer rated for the 20 amp circuit.
There's so much more to describe, and by the time I finish giving the details of everything, boredom would have passed and the point lost.
So what is the point? Well, I bought a vent fan to remove the possibility of mold build up and to also help heat the bathroom on our cold winter nights. After many months, it was finally done!